 |
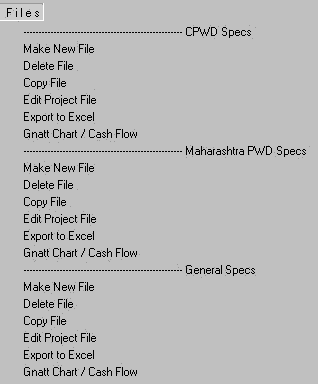
Now click Copy File option. A new window will appear as follows, asking for the name of the File to be copied. |
 |
 |
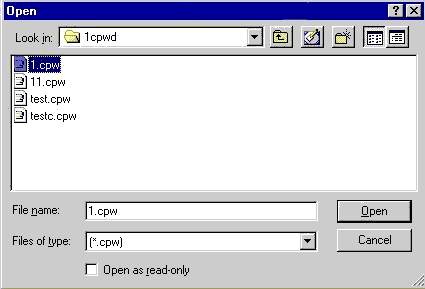
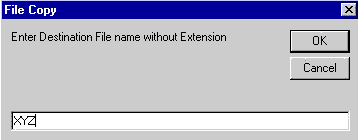
Now click " 1 " file & click open. A new window will appear as follows, asking for the name of the destination file. |
 |
 |
Give the destination file name as "
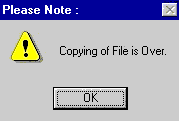
XYZ ". Press " OK " button. A new message window will appear as follows. |
 |
 |
The above message confirms the copying of all respective files to new
XYZ file. Note that original file
" 1 " is intact. Press " OK " button to exit. |
 |
Again Now click Delete File option. A new window will appear as follows, asking for the name of the File to be deleted. |
 |
 |
Select " test " file & click " Open " button. A new window will open as follows, requiring confirmation. |
 |
 |
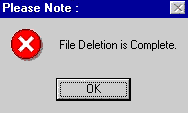
Click the " OK " button, again a new window will open as follows, confirming deletion of
" test " file. |
 |
 |
Now click Edit Project File option. A new window will appear as follows, asking for the name of the project File to be Edited. |
 |
 |
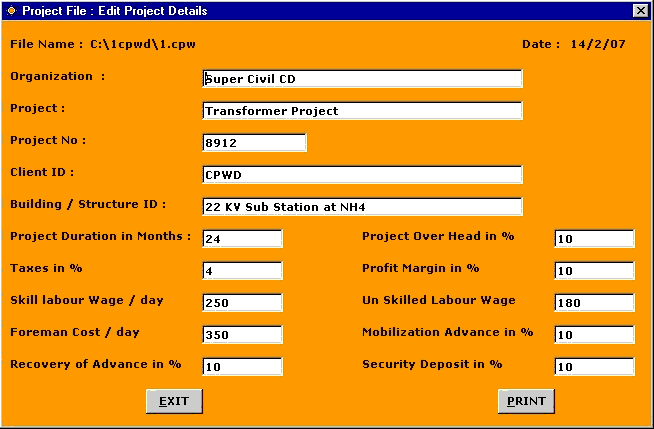
Now click " 1 " file & click open. A new window will appear as follows, enabling user to change the various project parameters. |
 |
 |
After you have completed editing the various project parameters click " EXIT " button. |
 |
Now click Export QTY to EXCEL option. A new window will appear as follows, asking for the name of the project File to be Exported to EXCEL. |
 |
 |
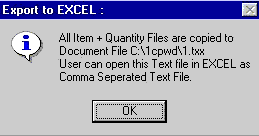
Now click " test " file & click open. A new window will appear as follows, indicating that all the
quantity files are copied to a new file with " .txx " extension. |
 |
 |
User can open this Text file in EXCEL as comma separated Text File. |
| STEP NO. 11 IS OVER. |
|
|


|

